This is a guest blog post from one of our valued community members, Marek Belisko, on porting the Mender over-the-air software update solution to the Orange Pi.
This blog is a short summary about porting Mender to a new hardware platform, the Orange Pi. Mender officially supports the hardware platforms Raspberry Pi and the BeagleBone Black as reference devices. I read about Mender a few months ago as an open source alternative for OTA updates and I browsed their webpage and chose to try it. I have worked with a few update systems, both open source and proprietary solutions. Given Mender’s permissive open source license for both the management server and client, I can use it on my upcoming projects.
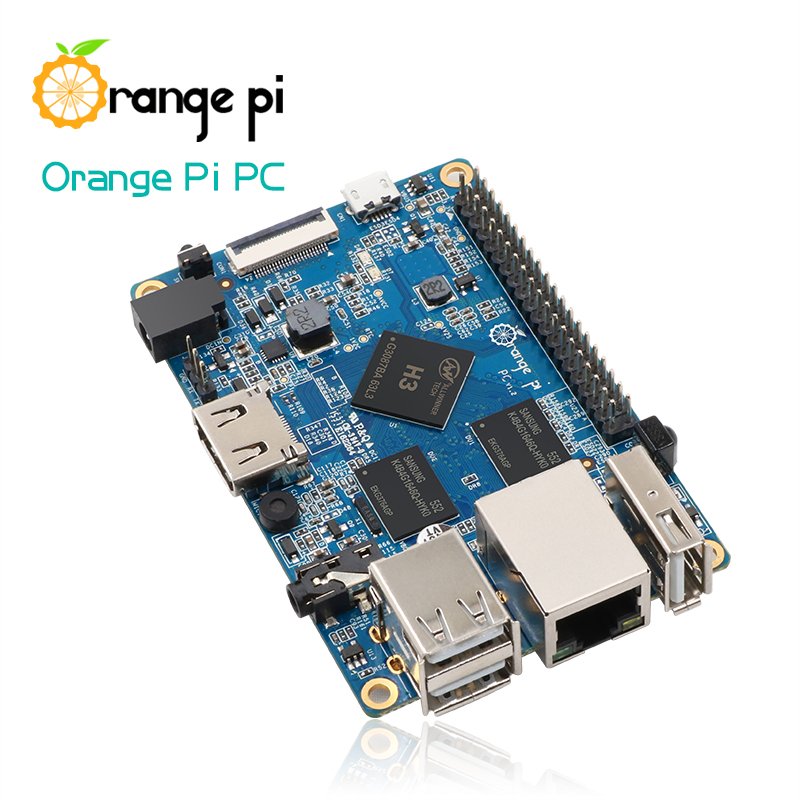
After some months, I was regularly browsing the Mender documentation and asked for support with some issues on the Mender mailing list. I have a regular full-time job, but for recreation (and increasing my knowledge), I’m doing some tasks a few evenings a week. A few weeks ago, I created a simple Yocto build for Orange Pi PC Plus board. I used an existing layer to add support for the new hardware and added the driver for WiFi and that was basically it.  After finishing this, I was asked if I can try to port the Mender client to the Orange Pi PC Plus board. Since Mender directly integrates to the Yocto build system (which I’m using/hacking almost on a daily basis), I thought that it should not be a big challenge to port.
When I read the Mender documentation, I was impressed that it was really well structured and clean so I can get a quick and intuitive overview. As a starting point, I’ve added meta-mender to the orange-pi-distro and adapt local.conf according to the documentation. Luckily, the Orange Pi is already supported by mainline u-boot and kernel. Also by coincidence, I started to port a few days after Christmas by using Mender 1.3 which automated u-boot patching. I must admit it works very fine for my case. I did no manual (hand-editing) u-boot patching, only a small change in Makefile to have the env tools build properly. When I ran the build, it was nearly finished without problems but everything cannot be so smooth -- there appeared to be one issue with creating the image for the SD card using wic tool (Yocto tool for creating images). The error was very strange and admittedly I spent a lot of time trying to find the root cause of the issue. After few hours of getting nowhere, I asked for support on the Mender community mailing list. I got a few pointers and after a few attempts, I had working the SD card image which I burned, but unfortunately didn't boot.
The problem was the first stage bootloader must be stored directly in the SD card and not in the boot partition. I asked another question on the mailing list (when I read the documentation properly it was already written there ;) ). I got a reply really quickly and after a few attempts I had a bootable SD card which booted and Mender was up and running. The next step will be to check the Mender functionality by using dummy updates. For that, I signed up for the beta of Hosted Mender and look forward to test OTA updates by using Mender. This is my brief story how I ported Mender to a new board. For my work, there is already a pending pull request on GitHub.
It was really a pleasure to work with the Mender community!
Just as a side note, some words about me: I’m a freelance developer with a passion to hack Linux devices from u-boot, kernel to applications (C, C++, shell scripting) and I also like hacking Yocto. This is my personal webpage.
Marek
Recent articles
New Mender experimental AI-enabled feature
Mender in 2025: Preparing for Compliance, Security, and AI-Driven Growth
What’s new in Mender: Enhanced delta updates and user experience
Learn why leading companies choose Mender
Discover how Mender empowers both you and your customers with secure and reliable over-the-air updates for IoT devices. Focus on your product, and benefit from specialized OTA expertise and best practices.


